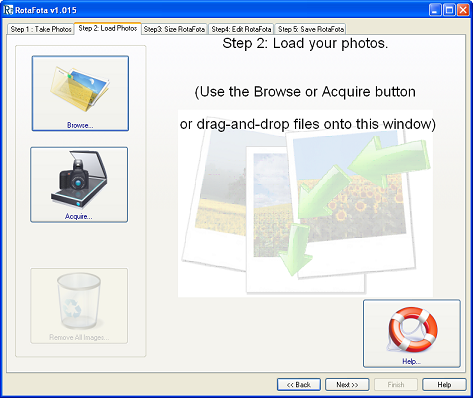
This is where the RotaFota software takes on all the hard work, and makes it easy for you to produce a RotaFota image from your photos.
You need to get your photos from your camera and into the RotaFota software. So, either take the memory card out of your camera and plug it into your card-reader, or connect your camera directly via its USB cable.
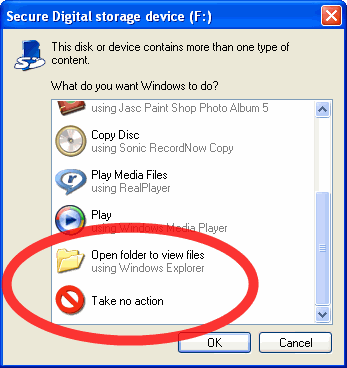
Often when you connect your camera or memory card, Windows™ will pop-up a window offering to take various different actions. It is usually best to select either Take no action or Open folder to view files.
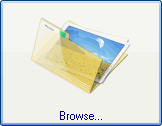
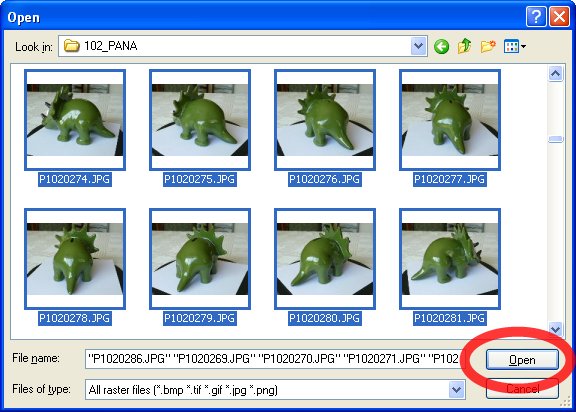
Click the Browse button, and you'll see the standard Windows™ browser.
It is usually best to view the thumbnail images of your photos so that it is easy to see which ones to select. You can select the thumbnail viewing option as shown in this picture.
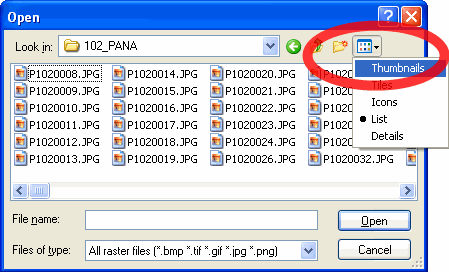
Select your whole photo sequence. You do this by clicking on the first image in the sequence, then scroll down to see the last image and hold down the Shift key on the keyboard while you click on the last image. You'll see that all the images in the sequence are selected. Now click the Open button.
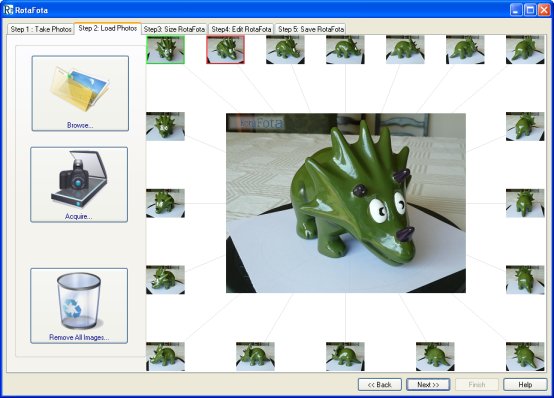
All the images will be loaded into RotaFota and you'll see them getting displayed on the screen, with the initial RotaFota image in the centre of the window.
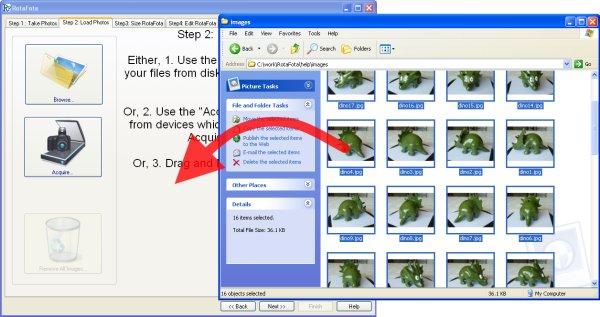
You may prefer to find your photos with Windows™ Explorer or My Computer.
Select your whole photo sequence. You do this by clicking on the first image in the sequence, then scroll down to see the last image and hold down the Shift key on the keyboard while you click on the last image. You'll see that all the images in the sequence are selected.
Then drag and drop the whole lot into the RotaFota window in one go. To do this click and hold the mouse button over any of the selected images, drag the mouse over to RotaFota while still holding down the mouse button, and then release the mouse button.
All the images will be loaded into RotaFota and you'll see them getting displayed on the screen, with the initial RotaFota image in the centre of the window.
Some cameras or imaging devices come with their own software which interacts to grab the images from them. If your device has a TWAIN or WIA interface you might prefer to use it to select your photos.
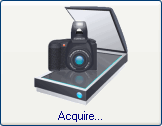
Press the Acquire button to select your device:
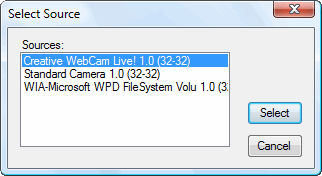
If you have any suitable devices, they will be listed on this window. Select the one which matches your imaging device.
You will then be shown the image selection software which came with your device. It will be different for every device, so we can't describe how to use it here. Try to select all the images in one go, so that the RotaFota software can import them with the minimum of work for you.

You may want to clear out all the photos which you loaded.
Most often this is when you've finished making one RotaFota image, and you want to start another.
When you click the Remove All Images button you will get asked to confirm, and then all the images will get cleared.
The RotaFota software will retain all the settings you used so that you can make a similar RotaFota image straight away by loading another set of photos.

There is a Help button on each window you will see in the RotaFota software. Clicking a help button will show the relevant page from this Help Guide.
Related Topics: