This step has some optional enhancements for your RotaFota image.
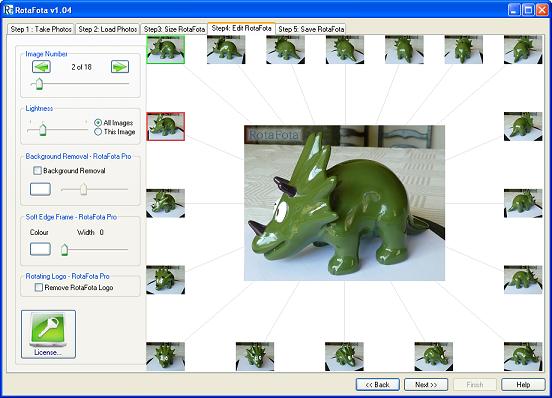
Adjusting the lightness of your photos can be very useful if you took your pictures in poor light, or with the wrong exposure setting.
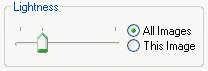
A useful amount of improvement can often be achieved by the simple adjustment of the lightness slider. If you have All images selected then the lightness adjustment will be applied to the whole image set.
Sometimes you may need to adjust the lightness of individual photos in your set. For example, if you took the photos outside, and the sun went behind a cloud during the photo sequence. In this case, select the This image option, and the lightness adustment will be applied to only the active image.
You can quickly flick through the images (using the image number slider, the left/right arrow button, the thumbnails, or by dragging the mouse left/right over the main image) and adjust the lightness of each one.
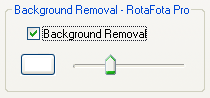
If you use the background removal facility then you will need a RotaFota Pro license to save the resulting RotaFota image.
RotaFota can enhance your photos to give a professional looking effect as though your object had been photographed in a lightbox. It does this by analysing the photos and automatically determining what is background and what is the subject. The background is cleared without affecting the subject.
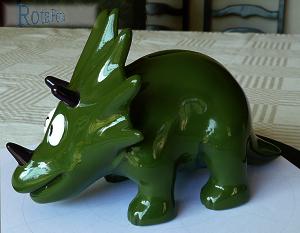
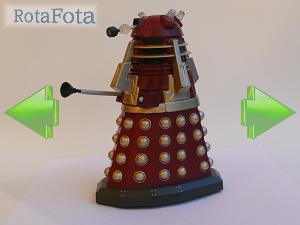
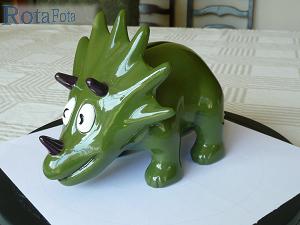
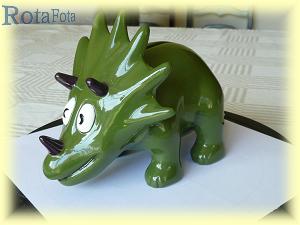
For example, here is a RotaFota image made from photos taken in a poorly lit room. The toy dalek is stood on a RotaFota pad with another sheet of paper used for the backdrop. As you spin this RotaFota image you can see that the background is quite noticeable and the individual photos vary in intensity and hue.
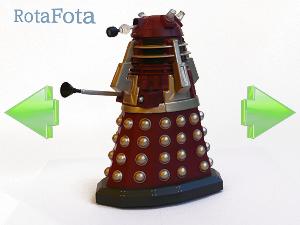
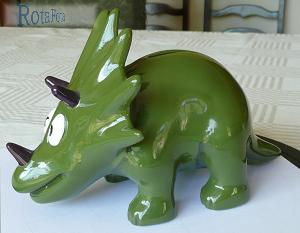
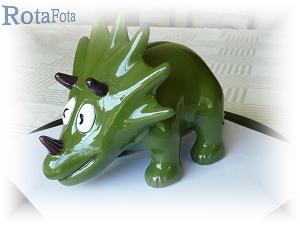
The RotaFota image to the right shows what you get by clicking the Background removal box. In all the images the varying greyish background has been replaced with a consistent white.
The background removal function performs automatically, but all photos are different and so there is a slider which you can use to visually fine-tune the amount of background removal for your particular set of photos. Moving the slider to the right increases the amount of background removal. If you move the slider too far to the right the subject itself may start to fade out.
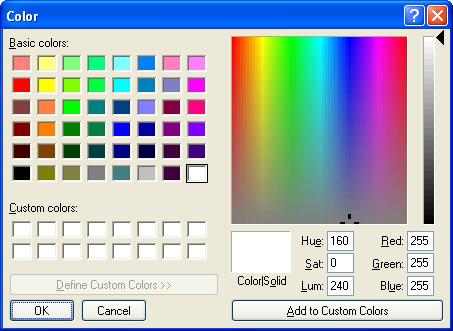
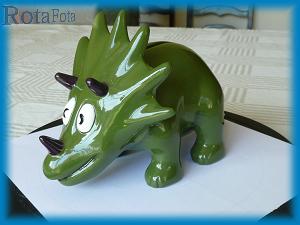
You can also choose the new colour for the background. For example, you might think a dalek looks best against a light green background, like this:
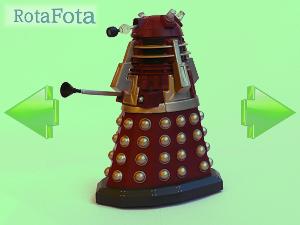
Use the colour selection button to choose your desired background colour.
If you use the frame effects then you will need a RotaFota Pro license to save the resulting RotaFota image.
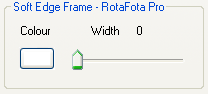
You can use RotaFota Pro to add an attractive soft-edge frame to your RotaFota image. Use the width slider to choose how wide you want the frame. The effect is shown instantly on your image as you move the slider. Here is what a sixty pixel white frame looks like:
This effect can be particularly successful if the frame colour matches the background of your website. Then the image appears to blend seamlessly with the page. Another good effect is with a frame of complimentary colour to the website. These examples have 20 pixel width frames:
You can choose the colour of the frame by clicking the colour button next to the width slider. You will be shown the colour selection window, where you can choose from the basic colours, or select from the spectrum.
The RotaFota software applies the effect to the whole image set for you, so that the resulting RotaFota image will display the soft edge frame.
The RotaFota software places a rotating logo in the top left corner of your RotaFota image. This is so that the people viewing your image will realise that it is interactive. The distinctive logo alerts the viewer that they can use their mouse to control the view of the image subject.
However, some professional users may want to produce images which do not show the rotating RotaFota logo. In this case, they can select the Remove RotaFota Logo checkbox.

If you use the Remove RotaFota Logo option then you will need a RotaFota Pro license to save the resulting RotaFota image.
Related Topics: