
This step is all about saving your finished RotaFota image and getting it onto the internet for all to see.
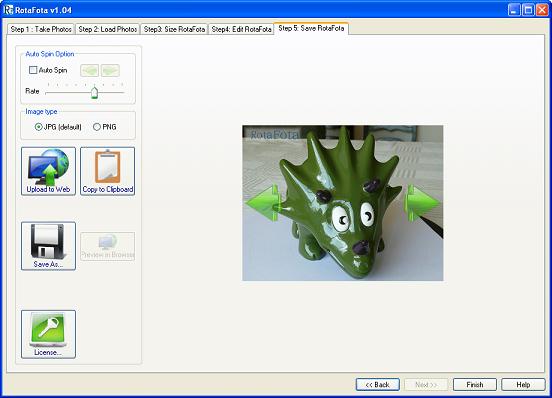
Your finished RotaFota image is shown on the window, and two big arrows have been added to alert the viewer that the image can be rotated. The arrows vanish as soon as the mouse is used to click and drag left/right to spin the RotaFota image.
Before you save your RotaFota you can decide to make it auto-spin. If you select this option it means that the RotaFota image will automatically start rotating as soon as the web page is displayed. The person viewing can still click on it to stop it auto-spinning and control in the normal way with their mouse.

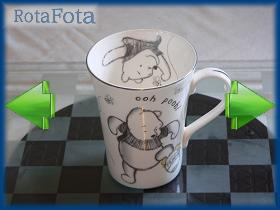
Here is an example of both types: one auto-spinning RotaFota image, and one that waits for the viewer to spin it.
When you select auto-spin you can choose the direction of spin with the arrow buttons.
The speed at which the RotaFota image auto-spins can be selected with the slider. There is a big range of speed, from one image change every few seconds, up to about 100 changes per second. Setting the slider somewhere near the middle usually gives a good effect. The result is shown instantly on-screen as you move the slider.
There is a choice of JPG or PNG for the final image type.
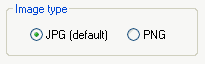
It is usual to keep the default JPG file saving option. JPG files are generally much smaller than PNG files and therefore download and display quicker on a web page.
The only downside with JPG image files is that they lose a small amount of the detail of the image. This is not usually a problem with photographic images. However, if you happen to have a source of non-photographic images you may want to select the PNG saving option. PNG image files retain all the image detail, but accordingly the files sizes are usually larger than the equivalent JPG image files. For photographic images PNG files are usually much larger then the corresponding JPG files.
Having created your RotaFota image, you will probably want to publish it on your website on the internet so that other people may view it.
Whereas the Save As button saves the RotaFota to your computer, the Upload to Web button will let you save to the internet. Click here to read about uploading.
Normally, you would Upload your RotaFota image before using the Copy to Clipboard facility.

Having uploaded your RotaFota image, you may want to add it onto a another web page on your website, or have it displayed on your Ebay™ sale listing.
The RotaFota software makes either of these tasks easy by generating a snippet of HTML which you can paste into your web page, or your Ebay™ listing. Just click the Copy to Clipboard button to get started. Click here to read about creating web pages and/or Ebay™ listings with RotaFota images.
The Save As button is used to save your finished RotaFota image to your computer.

When you click the Save As button you will be presented with the standard Windows™ file browser for selecting your saving location.

Choose your loaction in the normal way, and type your desired File name for the RotaFota image, and click the Save button.
Related Topics: