
The first step in making a RotaFota image does not involve the software. The first step is where you take some photos.
What you need to do is use your digital camera to take a sequence of photos right the way around your subject.
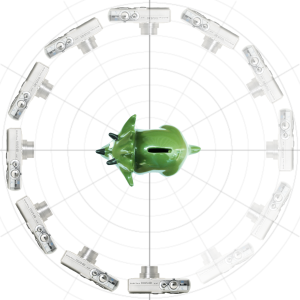
There are two ways of achieving this. One is to move the camera around the subject, like in this diagram. The other is keep the camera still and spin the subject between each photo.
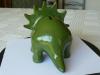
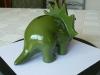
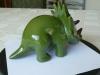
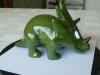
Generally, spinning the subject is easier and gives a steadier animation effect in the resulting RotaFota image, but both methods produce good effects. Sometimes it is not possible to spin the subject, for example, when it is very large (e.g. a vehicle), or when it is immovable (e.g. a tree).
Spinning the subject can be very easy if you have a turntable, or by putting it on a printed RotaFota pad.
How many photos you take is up to you. The absolute minimum would be four, but much better RotaFota image results will be obtained by taking twelve or more. The more photos the better will be the smoothness of the rotation of the RotaFota image. Thirty images will give a really nice effect. It doesn't take long to take that many photos. A digital camera can usually take a photo every couple of seconds and so it can take as little as one minute to snap 30 photos around an object.
The only things you really need to make a RotaFota image are, i) a digital camera, ii) the RotaFota software and iii) some webspace to upload it to.
| There are two main styles of RotaFota. | |
|---|---|
|
|
|
| The first makes an object rotate in front of the camera. | The second rotates the camera to make a 360° panorama, or a room interior. |
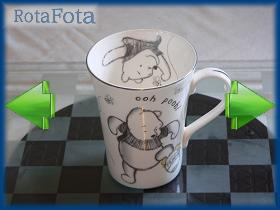
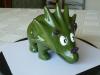
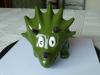
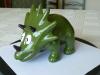
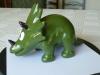
To get the best results when making a RotaFota image of a rotated object, try to keep the camera as still as possible. The best way to do this is to use a tripod. If you don't have one to hand don't worry, a box or small stack of books can work just as well.
Try to rotate the subject on a single point. The smaller the movement between photos and the more photos taken, the smoother the RotaFota image rotation will be. A small turntable can be bought very inexpensively from most good kitchenware or hobby-craft shops. If you don't have one, you can print out out a RotaFota pad to help.
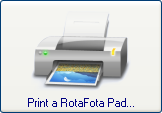
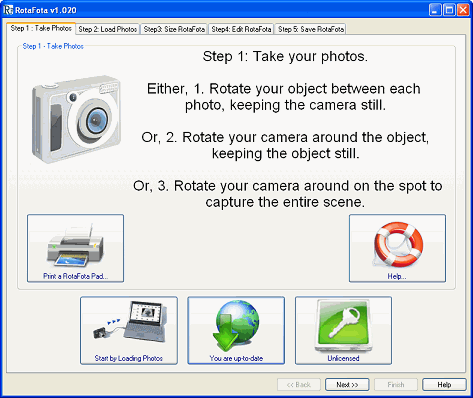
Clicking the Print RotaFota Pad button will show a window with options for printing a rotary pattern which can be used to assist with the photography process.
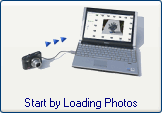
Clicking this button will take you straight on to Step 2 where you can start loading your photos.

Clicking the the License button will show you the License window. It also displays the license status of the RotaFota software on your computer. For example, if you have a Regular license then the text on the button will say so.

Clicking this button shows the options for downloading and installing updates of the RotaFota software.
If you allow the software to check automatically over the internet then it will inform you when an updated version of the software becomes available, and offer to download and install it for you. The text on the button will also show when you are already up-to-date and when a new version is available.

There is a Help button on each window you will see in the RotaFota software. Clicking a help button will show the relevant page from this Help Guide.
Related Topics: